TextField 콜백함수
TextField가 변경되었을 때 호출되는 콜백함수를 사용.
import 'package:flutter/material.dart';
void main() => runApp(MyApp());
class MyApp extends StatelessWidget {
@override
Widget build(BuildContext context) {
return MaterialApp(
title: 'Retrieve Text Input',
home: MyCustomForm(),
);
}
}
class MyCustomForm extends StatefulWidget {
@override
_MyCustomFormState createState() => _MyCustomFormState();
}
class _MyCustomFormState extends State<MyCustomForm> {
@override
void initState() {
super.initState();
}
@override
void dispose() {
super.dispose();
}
@override
Widget build(BuildContext context) {
return Scaffold(
appBar: AppBar(
title: Text('Retrieve Text Input'),
),
body: Column(
children: <Widget>[
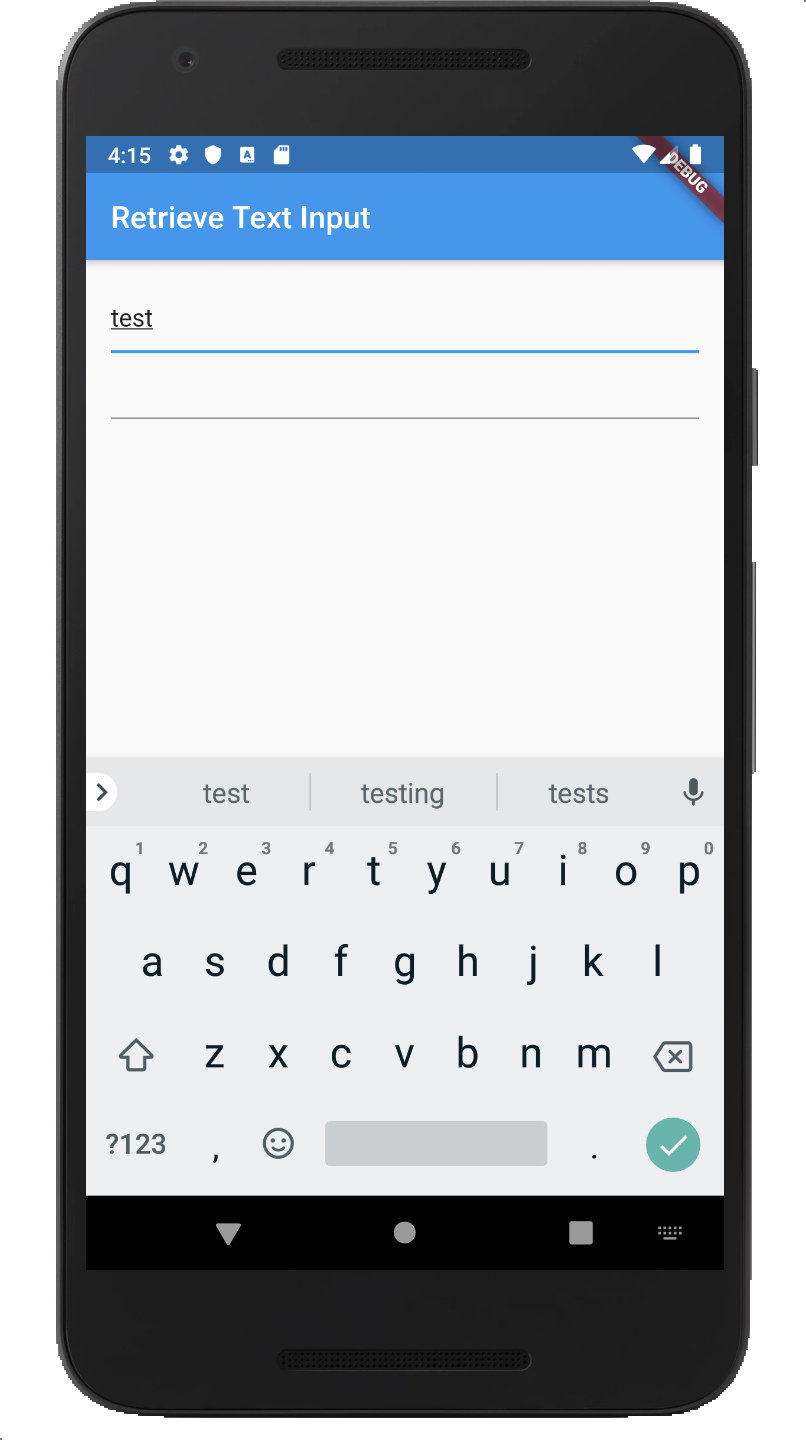
TextField(
onChanged: (text) {
print("First text field: $text");
},
),
],
),
);
}
}
onChanged속성에 사용하고싶은 메서드를 정의한다.
간단하게 TextField가 변경될때 마다 print 함수로 콘솔에 문자열을 출력한다.
출력값
I/flutter ( 6281): First text field: t
I/flutter ( 6281): First text field: te
I/flutter ( 6281): First text field: tes
I/flutter ( 6281): First text field: test
TextEditingController
좀더 정교하고 많은 기능을 콜백함수를 등록하고 싶다면 TextEditingController 클래스를 사용.
TextEditingController를 생성하고 addListener메서드를 통해 등록하고 싶은 메서드를 컨트롤러의 콜백함수로 등록한다.
그리고 이 컨트롤러를 TextField의 컨트롤러로 등록하면된다.
import 'package:flutter/material.dart';

void main() => runApp(MyApp());

class MyApp extends StatelessWidget {
  @override
  Widget build(BuildContext context) {
    return MaterialApp(
      title: 'Retrieve Text Input',
      home: MyCustomForm(),
    );
  }
}

class MyCustomForm extends StatefulWidget {
  @override
  _MyCustomFormState createState() => _MyCustomFormState();
}

class _MyCustomFormState extends State<MyCustomForm> {
  final myController = TextEditingController();

  _printLatestValue() {
    print("Second text field: ${myController.text}");
  }

  @override
  void initState() {
    super.initState();
    myController.addListener(_printLatestValue);
  }

  @override
  void dispose() {
    myController.dispose();
    super.dispose();
  }

  @override
  Widget build(BuildContext context) {
    return Scaffold(
      appBar: AppBar(
        title: Text('Retrieve Text Input'),
      ),
      body: Column(
        children: <Widget>[
          TextField(
            controller: myController,
          ),
        ],
      ),
    );
  }
}
출력값
I/flutter ( 6281): Second text field: t
I/flutter ( 6281): Second text field: te
I/flutter ( 6281): Second text field: tes
I/flutter ( 6281): Second text field: test
addListener메서드를 통해 여러개의 콜백함수를 등록, 한번에 호출가능하다.
이외에도 clear 메서드로 내용을 지운다던지, 현재 문자열을 TextSpan으로 반환한다던지 등의 함수가 정의되어있다.
https://api.flutter.dev/flutter/widgets/TextEditingController-class.html
Retrieve the value of a text field
입력마다 콜백함수를 호출하는 경우도 있겠지만 특정 버튼 클릭시 TextField 값을 가지고 특정 작업을 할 경우가 있을것이다.
TextField값을 어떻게 가져오는지 알아보자.
- Create a TextEditingController.
- Supply the TextEditingController to a TextField.
- Display the current value of the text field.
위의 과정으로 값을 가져올 수 있는데 1, 2번 과정은 이미 위의 콜백함수를 등록할 때 거쳤던 과정이다.
3번과정인 컨트롤러로 TextField의 값을 어떻게 가져오는지 알아보자.
우선 이벤트를 위한 FloatingButton을 생성
FloatingActionButton(
  onPressed: () {
    return showDialog(
      context: context,
      builder: (context) {
        return AlertDialog(
          content: Text(myController.text),
        );
      },
    );
  },
  tooltip: 'Show me the value!',
  child: Icon(Icons.text_fields),
);
onPressed 속성을 보면 Dialog(모달)를 출력하는 showDialog 라는 전역? 함수가 있다.
Future<T> showDialog <T>({
@required BuildContext context,
bool barrierDismissible: true,
@Deprecated('...') Widget child,
WidgetBuilder builder
})
barrierDismissible의 기본값은 true, false로 설정시 팝업shadow를 클릭해도 모달창이 사라지지 않는다. 취소버튼 등을 따로 사용시에 지정하는 속성
child속성은 곧 사라짐으로 builder 속성을 사용하라고 한다.
builder에 실제 출력하고 싶은 모달을 정의하면 된다.(정의하지 않을시 null 예외가 발생하기때문에 정의 필수)
모달(팝업)창으로는 2가지가 있는데
- AlertDialog, for dialogs that have a message and some buttons.
- SimpleDialog, for dialogs that offer a variety of options.
버튼을 가지는 AlertDialog, 옵션을 가지는 SimpleDialog 이다.
builder: (context) {
  return AlertDialog(
    // Retrieve the text the that user has entered by using the
    // TextEditingController.
    title: const Text('Select assignment'),
    content: Text(myController.text),
    actions: <Widget>[
      FlatButton(
        child: Text('cancle'),
        onPressed: () {
          Navigator.of(context).pop();
        },
      ),
    ],
  );
},
builder: (BuildContext context) {
  return SimpleDialog(
    title: const Text('Select assignment'),
    children: <Widget>[
      SimpleDialogOption(
        onPressed: () {
          print("First option pressed");
        },
        child: const Text('Treasury department'),
      ),
      SimpleDialogOption(
        onPressed: () {
          print("Second option pressed");
        },
        child: const Text('State department'),
      ),
    ],
  );
}
사진을 통해 간단한 차이를 알아보자.

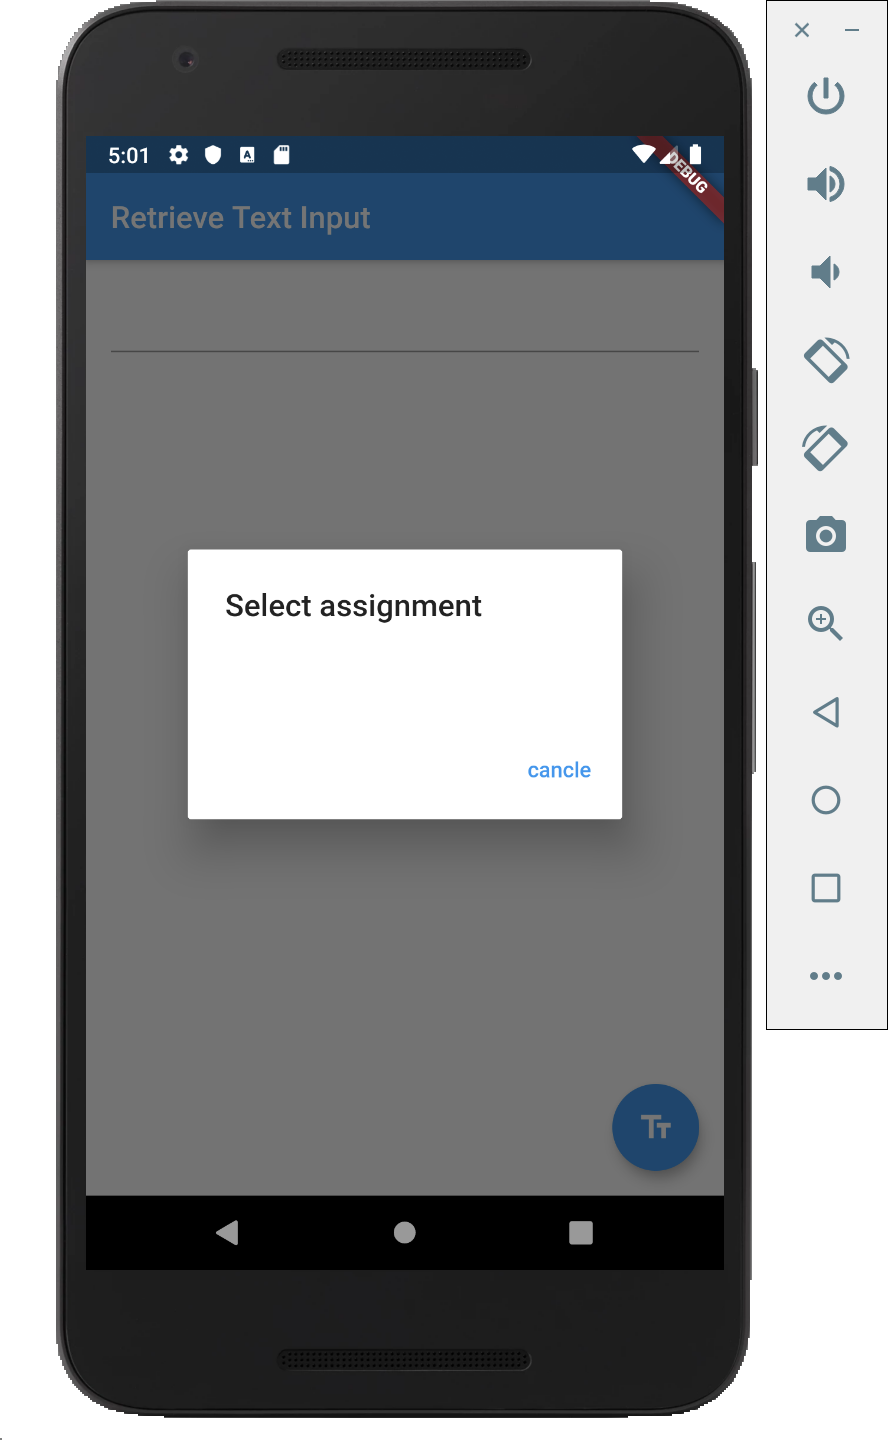
우리의 목적은 Dialog(팝업)창에 TextField의 value를 출력하는 것이다.
위의 AlertDialog의 content속성을 보면 컨트롤러의 text필드를 사용해 Text 위젯으로 사용한다.
content: Text(myController.text),
전체 코드
import 'package:flutter/material.dart';

void main() => runApp(MyApp());

class MyApp extends StatelessWidget {
  @override
  Widget build(BuildContext context) {
    return MaterialApp(
      title: 'Retrieve Text Input',
      home: MyCustomForm(),
    );
  }
}

class MyCustomForm extends StatefulWidget {
  @override
  _MyCustomFormState createState() => _MyCustomFormState();
}

class _MyCustomFormState extends State<MyCustomForm> {
  final myController = TextEditingController();

  @override
  void dispose() {
    myController.dispose();
    super.dispose();
  }

  @override
  Widget build(BuildContext context) {
    return Scaffold(
      appBar: AppBar(
        title: Text('Retrieve Text Input'),
      ),
      body: Padding(
        padding: const EdgeInsets.all(16.0),
        child: TextField( controller: myController ),
      ),
      floatingActionButton: FloatingActionButton(
        onPressed: () {
          return showDialog(
            context: context,
            builder: (BuildContext context) {
              return AlertDialog(
                title: const Text('Select assignment'),
                content: Text(myController.text),
                actions: <Widget>[
                  FlatButton(
                    child: Text('cancle'),
                    onPressed: () { Navigator.of(context).pop(); },
                  ),
                ],
              );
            },
          );
        },
        tooltip: 'Show me the value!',
        child: Icon(Icons.text_fields),
      ),
    );
  }
}
